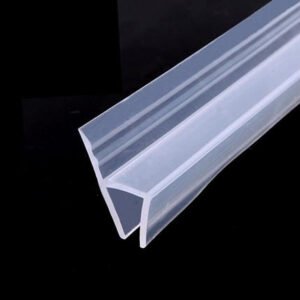
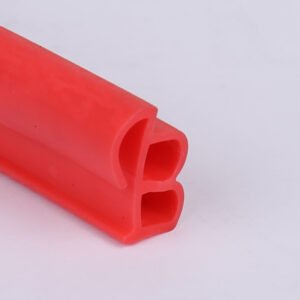
silicone seal strip manufacturer
Silicone seal strip manufacturer give the tips for bonding silicone sealing strips:
Clean and degrease the surfaces where the silicone strip will bond. Use glass cleaner, alcohol or acetone to thoroughly clean the surfaces. This will allow the silicone to adhere better.
Rough up the surfaces slightly with fine-grit sandpaper or a wire brush. This provides tiny grooves and texture for the silicone to grip onto. Wipe away any dust with a tack cloth.
Apply a thin coat of primer, if available. Silicone primers help the silicone bond more strongly to surfaces like metals, plastics and glass. Let the primer dry as directed.
Apply a thin, even bead of silicone adhesive or sealant along one edge of the silicone strip. Only apply enough adhesive to bond about 6 inches of the strip at a time.
Carefully place one end of the silicone strip onto the adhesive bead. Press firmly to bond and smooth out any air bubbles.
Use a roller, seam sealer or brush to apply more adhesive over the strip as you move it along the surface. Press and smooth the strip as you go to maximize contact.
Apply firm and even pressure for at least 24 hours as the adhesive dries. You can hold the strip in place with clothespins, clips, weights, sandbags or heavy objects.
Trim off any excess silicone strip after the adhesive dries. Use a sharp knife, scissors or yardstick and score through the strip to make it easier to remove.
Silicone seal strip factory suggest for best results, bond silicone at room temperature. Warm or hot surfaces will cause the adhesive to cure too quickly. Colder surfaces may not bond properly.
Additional sealing/ caulking may still be needed for high-stress seams or seams exposed to harsh chemicals or temperature extremes.
Silicone can bond effectively to many surfaces, but adhesion strength depends a lot on surface preparation and technique. Practice on test pieces first if silicone seal strip supplier possible.
Showing all 3 results