Introduction
When it comes to enhancing your home’s energy efficiency, comfort, and even security, few DIY projects are as straightforward and rewarding as installing PU Foam Sealing Strips. These versatile strips create an airtight seal around doors and windows, effectively preventing drafts, reducing energy bills, and increasing overall comfort. In this step-by-step guide, we’ll walk you through the process of installing PU Foam Sealing Strips, empowering you to tackle this home improvement project with confidence.
Tools and Materials You’ll Need
Before we dive into the installation process, gather the following tools and materials:
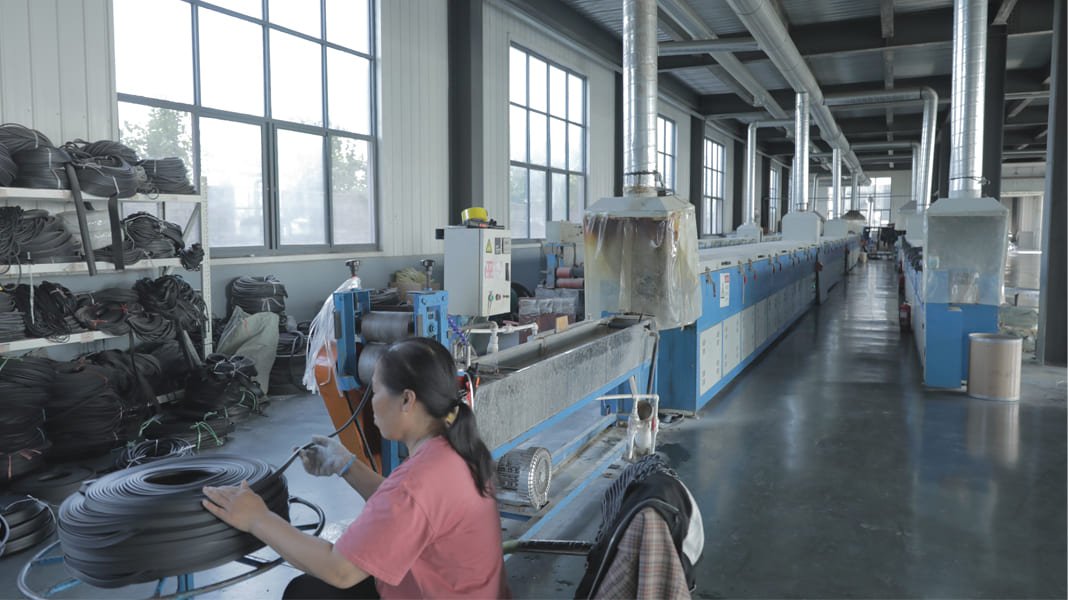
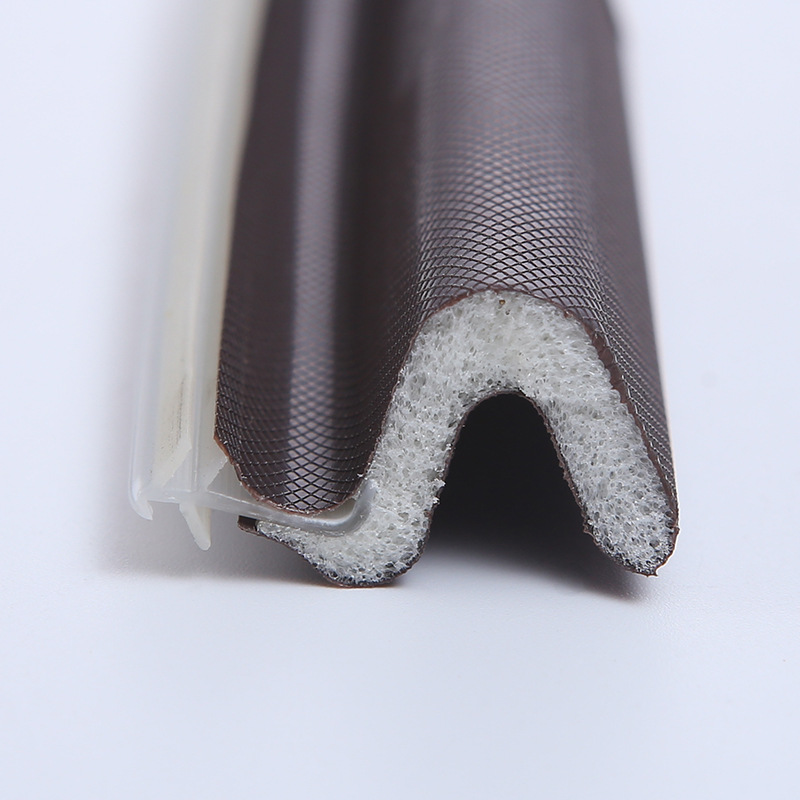
PU Foam Sealing Strips: Choose the appropriate size and type of strips for your doors and windows. They are readily available at most hardware stores.
Utility Knife: For cutting the strips to the required length.
Measuring Tape: To ensure accurate measurements and cuts.
Rubbing Alcohol: For cleaning the surfaces where you’ll apply the strips.
Clean Cloth or Paper Towels: For applying rubbing alcohol and cleaning the surfaces.
Step 1: Preparation
Start by cleaning the surfaces where you intend to install the PU Foam Sealing Strips. Use a clean cloth or paper towels and rubbing alcohol to remove any dirt, dust, or residue. Clean, dry surfaces will ensure better adhesion.
Step 2: Measure and Cut
Measure the length of the area you want to seal. Use the measuring tape to get precise measurements. It’s a good practice to add a few extra inches to ensure a snug fit.
Using the utility knife, cut the PU Foam Sealing Strips to the required length based on your measurements.
Step 3: Application
Peel off the backing from the adhesive side of the PU Foam Sealing Strip. Start at one end of the area you want to seal, and gently press the strip into place, following the contours of the door or window frame.
Step 4: Press and Seal
After applying the strip, press it firmly to ensure a secure bond with the surface. Run your fingers along the entire length of the strip to seal it effectively. Pay close attention to the corners and any gaps where air might infiltrate.
Step 5: Trim Excess
If you have any excess strip material extending beyond the frame, use the utility knife to trim it neatly. This step ensures a clean and professional-looking finish.
Step 6: Repeat as Needed
Continue this process for all the doors and windows in your home that require sealing. Remember that consistency in installation is key to achieving maximum energy efficiency.
Step 7: Test for Effectiveness
Once you’ve installed the PU Foam Sealing Strips, perform a simple test to check for drafts. Close your doors and windows and feel around the edges. If you no longer feel air escaping or entering, you’ve successfully sealed the gaps.
Conclusion
By following these easy steps, you can significantly improve your home’s energy efficiency, comfort, and even soundproofing. Installing PU Foam Sealing Strips is a cost-effective and rewarding DIY home improvement project that will pay dividends in reduced energy bills and a more comfortable living space. Don’t hesitate to embark on this simple yet impactful journey to enhance your home.