Learn how to create a high-quality 2.5 inch silicone hose with this comprehensive guide. We’ll take you through the step-by-step process, from gathering the necessary materials to assembling and testing the finished product.
Gather the Materials and Tools
To start making a 2.5 inch silicone hose, gather the following materials and tools:
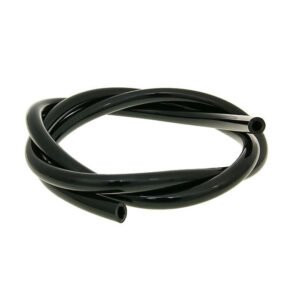
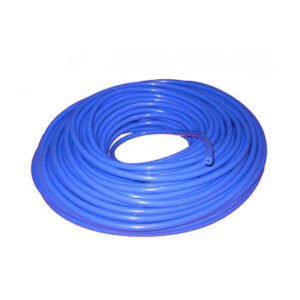
- Silicone Tubing:
Choose high-quality 2.5 inch silicone tubing that meets your specific requirements, such as temperature resistance and flexibility. - Hose Clamps:
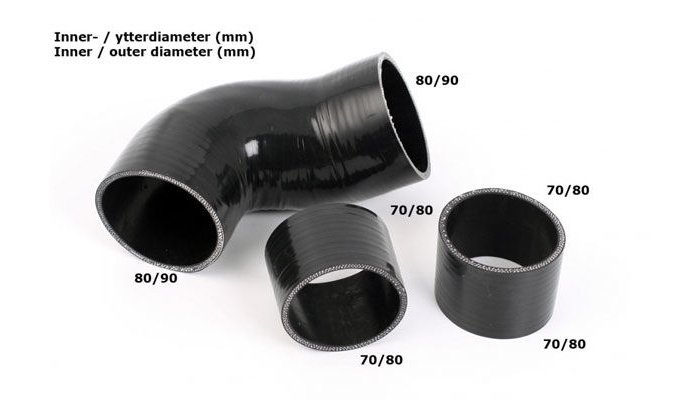
Select appropriate hose clamps that match the outer diameter of the silicone tubing.

Measure and Cut the Silicone Tubing
Follow the Kinglin silicone hose manufacture’s steps to measure and cut the silicone tubing accurately:
- Measure:
Using a measuring tape, determine the desired length of the hose and mark it on the silicone tubing. - Cut:
Using a sharp utility knife or hose cutter, make a clean and straight cut at the marked location. Ensure the cut is perpendicular to the tubing to ensure a proper fit.
Attach the Hose Clamps
Properly attaching the hose clamps ensures a secure connection:
- Positioning:
Slide the hose clamp onto one end of the silicone tubing, leaving a small gap between the edge of the tubing and the clamp. - Insertion:
Insert the end of the silicone tubing into the desired connection point and position it securely. - Tightening:
Using a screwdriver or hose clamp tool, tighten the clamp by turning the screw clockwise until it firmly holds the silicone tubing in place.
Test the Hose Connection
To ensure a leak-free connection, perform a simple pressure test:
- Apply Pressure:
Using an air compressor or water source, gradually apply pressure to the hose to test its integrity. - Check for Leaks:
Inspect the entire length of the hose for any signs of leakage. If leaks are detected, reposition the hose clamps and retighten as necessary.
Additional Tips and Considerations
Consider the following tips to optimize your 2.5 inch silicone hose-making process:
- Lubrication:
Apply a small amount of silicone lubricant to the inner surface of the hose before installation to ease fitting and prevent damage. - Double-Check Measurements:
Ensure accurate measurements and double-check the length of the hose before making any cuts to avoid wastage.
Summary and Conclusion
Crafting a 2.5 inch silicone hose is a straightforward process that requires careful measurement, cutting, and secure attachment of hose clamps.
By following this step-by-step guide, you can create a reliable and durable silicone hose customized to your specific needs. Remember to perform a thorough pressure test to verify the integrity of the connection.
Whether it’s for automotive, industrial, or other applications, making your own 2.5 inch silicone hose offers flexibility, cost savings, and the satisfaction of a job well done.