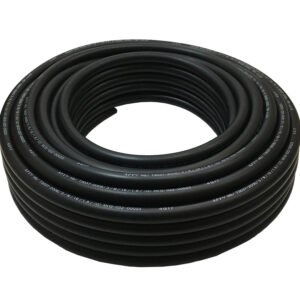
자동차 고무 씰

표면을 청소하십시오

설치하기 전에 도어 씰링 스트립, make sure the surface is clean and free of any dirt, 부스러기, or old adhesive. Use a cleaning solution and a clean cloth to wipe down the surface and ensure that it is completely dry.

Cut the seal to size

Measure the length of the area where you want to install the rubber seal and cut the seal to the appropriate length. Be sure to leave a little extra length to ensure a tight fit.

접착제를 적용하십시오

Apply a small amount of adhesive to the surface where you will be installing the rubber seal. Be sure to use an adhesive that is appropriate for the materials you will be bonding.

Press the seal into place

Once the adhesive has been applied, press the rubber seal firmly into place on the surface. Be sure to apply even pressure along the entire length of the seal to ensure a tight fit.

Allow the adhesive to dry

Allow the 자동차 고무 씰 adhesive to dry completely before using the vehicle. This can take several hours or overnight, depending on the type of adhesive used.

밀봉을 테스트하십시오

Once the adhesive has dried, test the seal to ensure that it is properly installed and functioning as intended. Check for any gaps or areas where the 도어 고무 씰 스트립 is not properly attached and make any necessary adjustments.

모두 표시 2 결과